webpack的五个核心概念
Entry
入口指示Entry:指示webpack以哪个文件为入口起点开始打包,分析构建内部依赖图
Output
输出指示output:指示webpack打包后的资源bandles输出到哪里,以及如何命名
Loader
Loader让webpack能够去处理那些非JavaScipt文件【webpack自身只能理解JavaScript】
比如less,css,sass这些,都是需要Loader来进行操作
Plugins
插件plugins:可以用于执行范围更广的任务。插件的范围包括:从打包优化和压缩,一直到重新定义环境中的变量
Mode
模式指示webpack使用相应模式的配置
| 选项 |
描述 |
特点 |
| development |
会将process.env.NODE_ENV的值设为development,启用NamedChunksPlugin和NamedModulesPlugin |
能让代码本地调试运行的环境 |
| production |
会将process.env.NODE_ENV的值设为production,启用FlagDependencyUsagePlugin、FlagIncludedChunksPlugin、ModuleConcatenationPlugin、NoEmitOnErrorsPlugin、OccurenceOrderPlugin、SideEffectsFlagPlugin和UglifyJsPlugin |
能让代码优化上线运行的环境 |
简单使用一下webpack
全局安装webpack
1
| npm i webpack webpack-cli -g
|
本地安装webpack
安装webpack的开发依赖
1
| npm i webpack webpack-cli -D
|
创建src文件夹,build文件夹和index.js入口文件
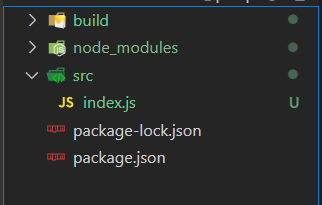
index.js随便写一点
打包文件
1
2
| webpack ./src/index.js -o ./build/built.js --mode=development
webapck ./src/index.js -o ./build/built.js --mode=production
|
其中,第一句为以开发环境打包,第二句以生产环境打包
结论:
打包资源
打包样式资源
创建webpack.config.js
作用:指示webpack干哪些活儿,当你运行webpack指令时,会加载里面的配置
所有工具都是基于node.js运行的
模块化默认采用common.js
编写webpack.config.js
loader的配置,那些东西是需要自己去引入的,比如css-loader需自行下载
但是,引入之后就可以直接配置loader来直接使用了
1
2
3
4
5
6
7
8
9
10
11
12
13
14
15
16
17
18
19
20
21
22
23
24
25
26
27
28
29
30
31
32
33
34
|
const { resolve } = require('path')
module.exports = {
entry: './src/index.js',
output: {
filename: 'built.js',
path: resolve(__dirname, 'build')
},
module: {
rules: [
{
test: /\.css$/,
use: [
'style-loader',
'css-loader'
]
}
],
},
plugins: [],
mode: 'development'
}
|
举例说明
引入样式:
1
2
3
4
5
6
7
| import './index.css'
function add (x, y) {
return x + y;
}
console.log(add(1, 2));
|
样式如下:
1
2
3
4
5
6
| html, body {
margin: 0;
padding: 0;
height: 100%;
background-color: aqua;
}
|
html引入脚本
1
2
3
4
5
6
7
8
9
10
11
12
13
| <!DOCTYPE html>
<html lang="en">
<head>
<meta charset="UTF-8">
<meta http-equiv="X-UA-Compatible" content="IE=edge">
<meta name="viewport" content="width=device-width, initial-scale=1.0">
<title>webpack</title>
<script src='./built.js'></script>
</head>
<body>
</body>
</html>
|
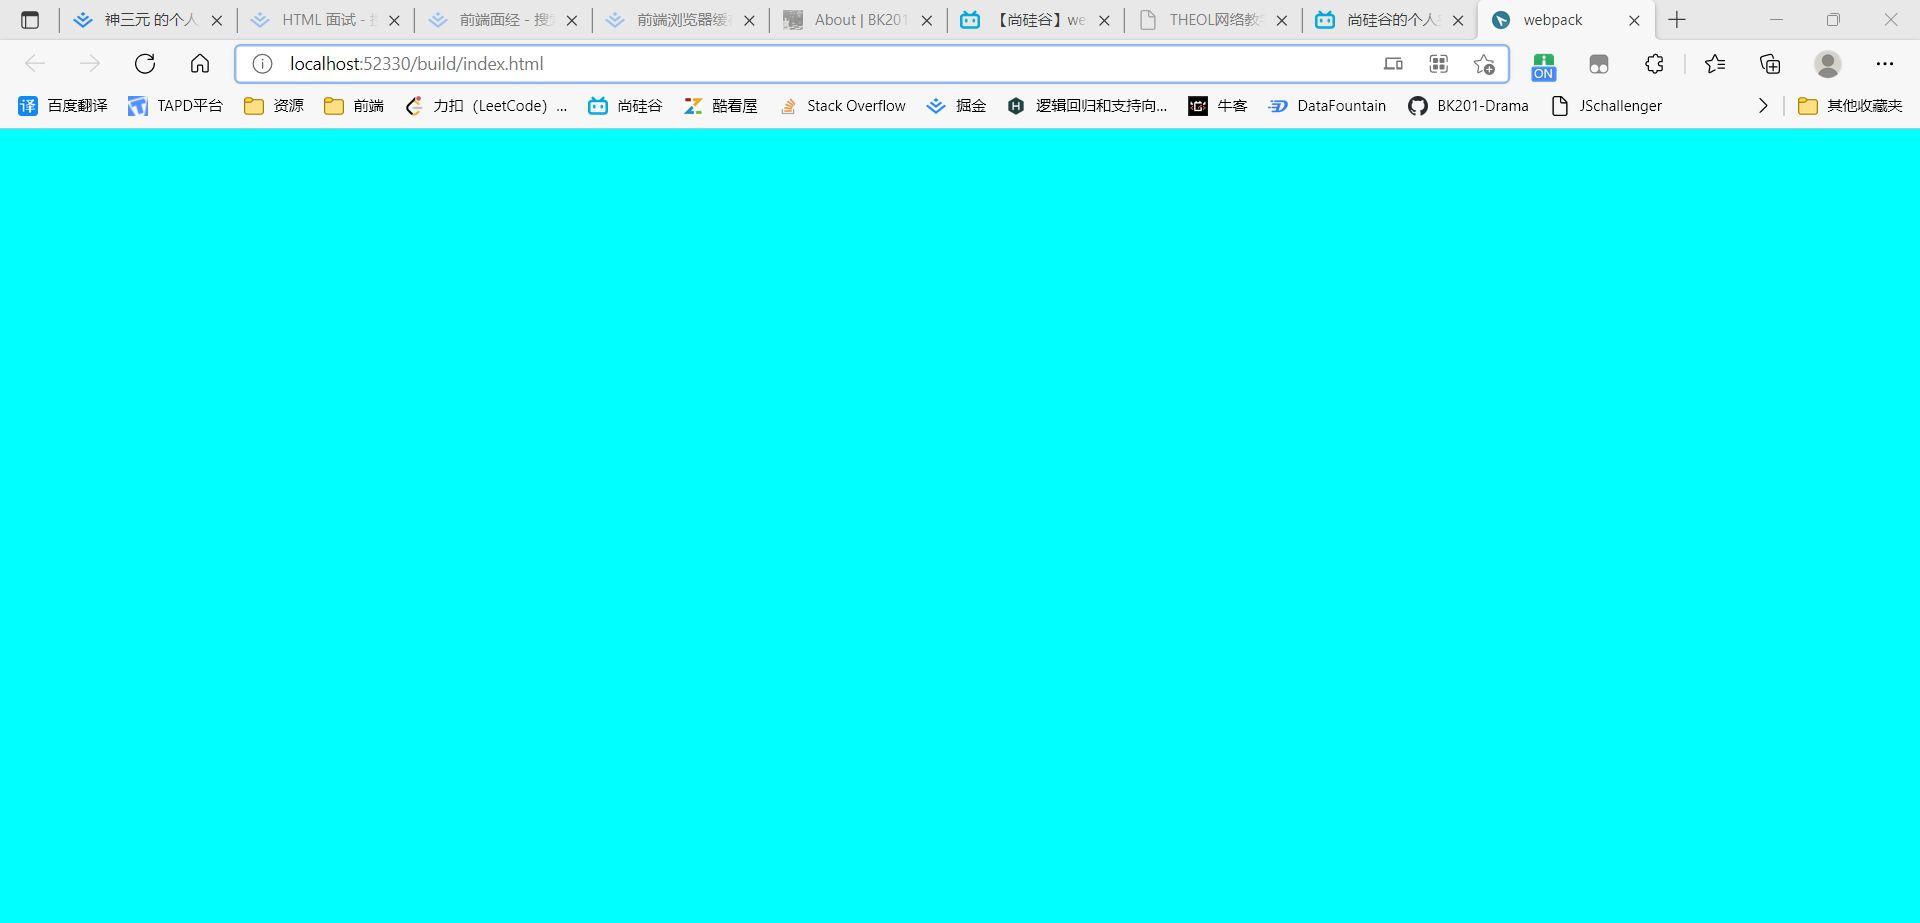
效果如下:使用打包后的文件做脚本引入,效果十分成功
打包html资源
使用插件配置
打包html资源需要html-webpack-plugin插件进行
plugin和loader略有不同,plugin下载之后,还需要引入,才可运行;而loader下载即可运行
我们通过html-webpack-plugin来佐证plugin与loader的一些细微区别
在这里,会默认创建一个空的html,自动引入打包输出的所有资源,包括JS和CSS
1
2
3
4
5
6
7
8
9
10
11
12
13
14
15
16
17
18
19
20
21
22
23
24
25
26
27
28
29
30
31
32
33
34
35
36
| const { resolve } = require('path')
const HtmlWebpackPlugin = require('html-webpack-plugin')
module.exports = {
entry: './src/index.js',
output: {
filename: 'built.js',
path: resolve(__dirname, 'build')
},
module: {
rules: [
{
test: /\.css$/,
use: [
'style-loader',
'css-loader'
]
}
],
},
plugins: [
new HtmlWebpackPlugin()
],
mode: 'development'
}
|
插件的配置
里面的插件都是可以分别执行单独的功能的,所以是可以接收外部不同的数据来得到不同的结果
下面就是对HtmlWebpackPlugin的自定义配置
1
2
3
4
5
6
| plugins: [
new HtmlWebpackPlugin({
template: './src/index.h tml'
})
],
|
打包图片资源
外部图片资源引入
需要安装url-loader和file-loader来处理
其中,url-loader依赖于file-loader
我们使用css的方式来引入:
安装依赖
1
2
| npm i url-loader -D
npm i file-loader -D
|
html文件
1
2
3
4
5
6
7
8
9
10
11
12
13
14
| <!DOCTYPE html>
<html>
<head>
<meta charset="utf-8">
<title>Webpack App</title>
<meta name="viewport" content="width=device-width, initial-scale=1">
<title>webpack</title>
</head>
<body>
<div id="box1"></div>
<div id="box2"></div>
<div id="box3"></div>
</body>
</html>
|
less文件
1
2
3
4
5
6
7
8
9
10
11
12
13
14
15
16
17
18
19
20
21
22
23
| #box1 {
width: 100px;
height: 100px;
background-image: url('./assets/img/angular.jpg');
background-repeat: no-repeat;
background-size: 100% 100%;
}
#box2 {
width: 100px;
height: 100px;
background-image: url('./assets/img/react.jpg');
background-repeat: no-repeat;
background-size: 100% 100%;
}
#box3 {
width: 100px;
height: 100px;
background-image: url('./assets/img/vue.jpg');
background-repeat: no-repeat;
background-size: 100% 100%;
}
|
配置文件
下面是效果图:
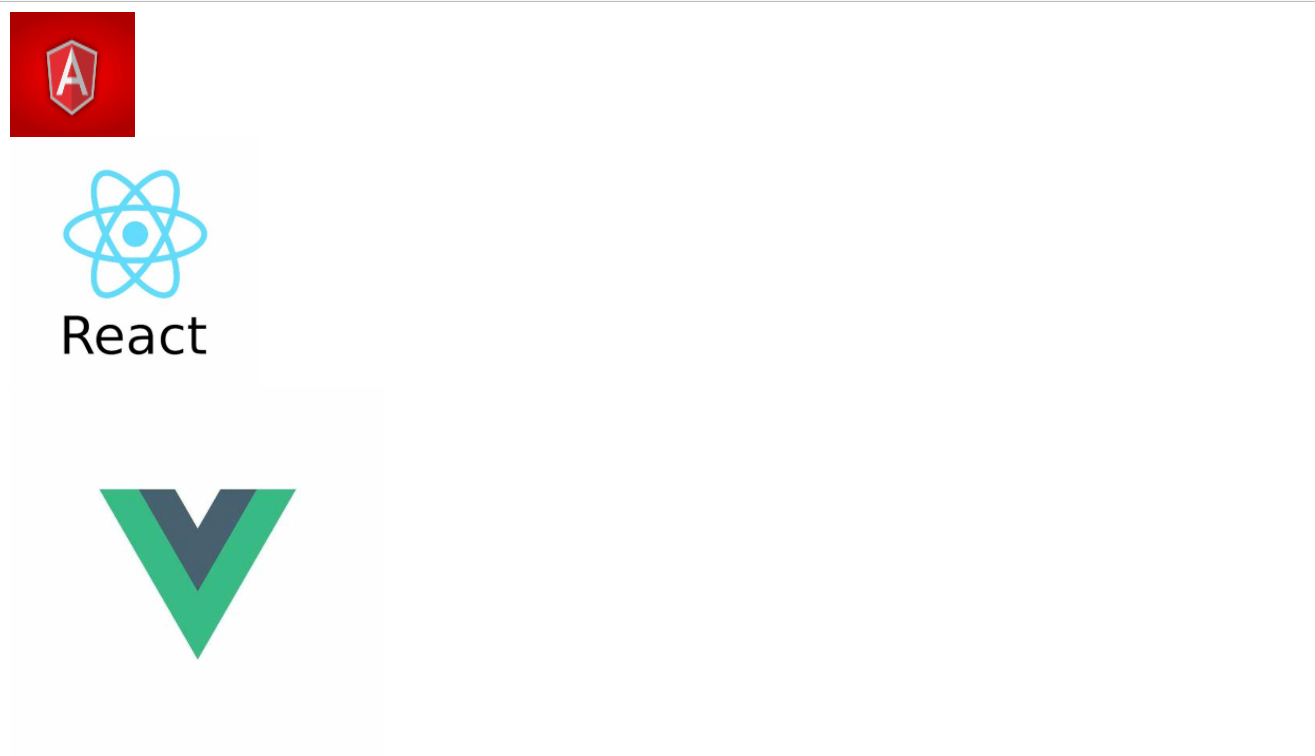
下面是配置文件:
1
2
3
4
5
6
7
8
9
10
11
12
13
14
15
16
17
18
19
20
21
22
23
24
25
26
27
28
29
30
31
32
33
34
35
36
37
38
39
40
41
42
| const { resolve } = require('path')
const HtmlWebpackPlugin = require('html-webpack-plugin')
module.exports = {
entry: './src/index.js',
output: {
filename: 'built.js',
path: resolve(__dirname, 'build')
},
module: {
rules: [
{
test: /\.less$/,
use: [
'style-loader',
'css-loader',
'less-loader'
]
},
{
test: /\.(jpg|png|gif)$/,
loader: 'file-loader',
options: {
limit: 90 * 1024,
esModule: false
},
type: 'javascript/auto'
}
]
},
plugins: [
new HtmlWebpackPlugin({
template: './src/index.html'
})
],
mode: 'development'
}
|
html图片资源引入
如果我们在html中引入文件:
1
2
3
4
5
6
7
8
9
10
11
12
13
14
| <!DOCTYPE html>
<html>
<head>
<meta charset="utf-8">
<title>Webpack App</title>
<meta name="viewport" content="width=device-width, initial-scale=1">
</head>
<body>
<div id="box1"></div>
<div id="box2"></div>
<div id="box3"></div>
<img src="./assets/img/angular.png" alt="angular">
</body>
</html>
|
不做任何配置,自然会导致找不到图片:
【你打包之后,文件路径还是./assets/img/angular.png吗?】

所以,我们需要引入包:
在rule中添加多一个html-loader,它能够使html引入的图片被url-loader进行处理:
1
2
3
4
| {
test: /\.html$/,
loader: 'html-loader'
}
|
那么得到的示例效果为:
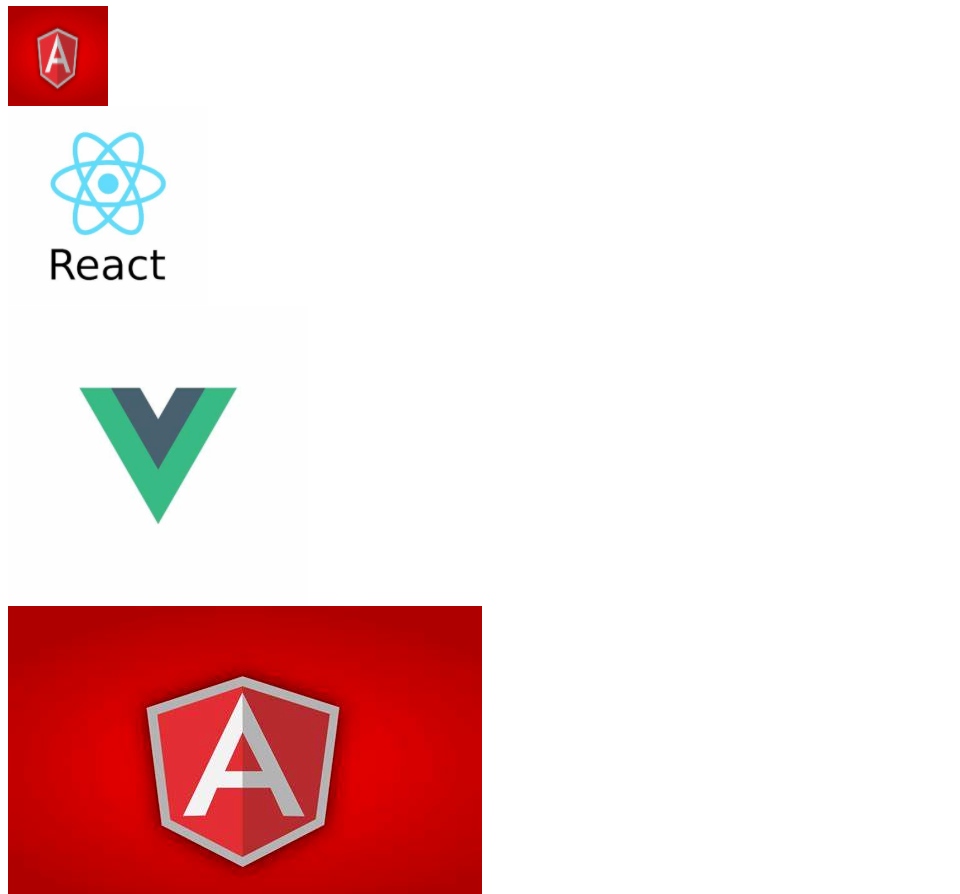
一些细节
为什么url-loader配置中不太一样?
有一点:url-loader在webpack5.x版本中,有许多不支持的地方,在这里你需要加上:
以此来让你的文件能够正常加载。
为什么需要关闭esModule?
因为在里面,url-loader是使用esModule方法引入图片,而html-loader为commonjs方法引入图片,如果不统一为commonjs,那么在html-loader解析的时候会出现问题:[Object Module],因此,我们最好关闭esModule
为什么需要设置limit?
在这里,我们可以通过设置limit来筛选一些图片转码为base64,比如上面的示例配置,90kb以下的图片就会被转码为base64。
打包其他资源
我们想要打包除了css,js,html以外的其它资源
我们采用file-loader来进行打包其他资源
1
2
3
4
5
6
7
| {
exclude: /\.(css|js|html)$/,
loader: 'file-loader',
options: {
name: '[hash:10].[ext]'
}
}
|
比如说:阿里云的图标文件,这些就是可以算作是我们可以打包的其他资源
在这里我们控制了hash的位数,可以一定程度上简化打包操作
打包细节
按上述打包,我们得到了一大坨文件:
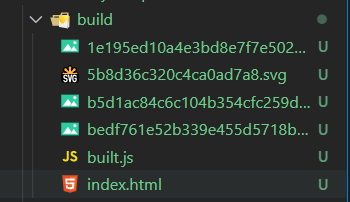
但是,我们打包的时候,最希望的就是能将文件分类,比如css分为一类,js分为一类,其他的文件分为一类,那么我们需要在loader配置中加一个导出路径,就可以了。
配置js的分类,只需要在output重新配置导出路径就可以了
配置文件:
1
2
3
4
5
6
7
8
9
10
11
12
13
14
15
16
17
18
19
20
21
22
23
24
25
26
27
28
29
30
31
32
33
34
35
36
37
38
39
40
41
42
43
44
45
46
47
48
49
50
51
52
53
54
55
56
57
58
59
60
61
62
63
64
65
66
67
68
69
70
71
72
73
|
const { resolve } = require('path')
const HtmlWebpackPlugin = require('html-webpack-plugin')
module.exports = {
entry: './src/index.js',
output: {
filename: 'js/built.js',
path: resolve(__dirname, 'build')
},
module: {
rules: [
{
test: /\.less$/,
use: [
'style-loader',
'css-loader', 'less-loader'
]
},
{
test: /\.(jpg|png|gif)$/,
loader: 'url-loader',
options: {
limit: 90 * 1024,
esModule: false,
outputPath: 'imgs'
},
type: 'javascript/auto'
},
{
  test: /\.html$/,
  loader: 'html-loader'
},
{
exclude: /\.(html|css|js|less|jpg|png|gif)/,
loader: 'file-loader',
options: {
name: '[hash:10].[ext]',
outputPath: 'media'
}
},
]
},
plugins: [
new HtmlWebpackPlugin({
template: './src/index.html'
})
],
mode: 'development',
devServer: {
compress: true,
static: resolve(__dirname, 'build'),
port: 3000,
open: true
}
}
|
在这里做一下与output的区别
- output决定入口文件的输出,也就是js的输出
- loader配置打包路径决定其他文件类型的输出
devServer
作用
自动化【自动编译,自动打包,自动打开浏览器,自动刷新浏览器等等】
特点
它只会在内存中编译打包,不会有任何的输出
也就是说,你把build删了,你也不会重新产生build!都是在localhost实时更新给你看的!
下载devServer
1
| npm i webpack-dev-server -D
|
配置devServer
注意:一些版本中,static需要替换成:
1
| contentBase: resolve(__dirname, 'build')
|
在此我们也进行一些其他的配置,配置如下:
1
2
3
4
5
6
7
8
| devServer: {
static: './build',
compress: true,
port: 3000,
open: true
}
|
配置package.json
1
2
3
4
5
| "scripts": {
"build": "webpack",
"dev": "webpack-dev-server --inline --content-base",
"test": "echo \"Error: no test specified\" && exit 1"
},
|
启动devServer
我们就可以得到一个实时更新打包文件的开发环境了!

在这里,如果我们更新了代码,就会在localhost:3000这个网址实时更新,无需每次重复打包了
Author:
BK201-Drama
License:
Copyright (c) 2019 CC-BY-NC-4.0 LICENSE
Slogan:
Do you believe in DESTINY?


